DIY greenhouse
Nilalaman:
Mabuti kung ang tag-init na maliit na bahay ay may sariling greenhouse, lalo na kung ito ay gawa mismo ng hardinero. Ang pagtubo ng iba't ibang mga pananim sa isang greenhouse ay napaka-maginhawa at nangangailangan din ng mas kaunting pagsisikap kaysa sa bukas na bukid. Ang mga pananim ay lumalaki nang mas mabilis sa mga greenhouse dahil ang temperatura ay mas mataas kaysa sa labas. Ang mga prutas ng gulay o prutas mula sa greenhouse ay lumalaki nang masarap at malusog, walang nitrates, kung saan ibinebenta ang mga produkto sa iba't ibang tindahan.
Lamang bago ang hardinero ang tanong ay lumalabas, kung walang greenhouse, paano ito gagawin? Saan ito tatayo? Anong mga materyales ang gagamitin sa iyong trabaho? Ang lahat ng ito ay nakasulat sa artikulo.
Mga uri ng greenhouse.
Ang mga greenhouse ay nahahati sa mga uri. Ang pinaka-karaniwan ay may arko, solong-slope at gable greenhouse.
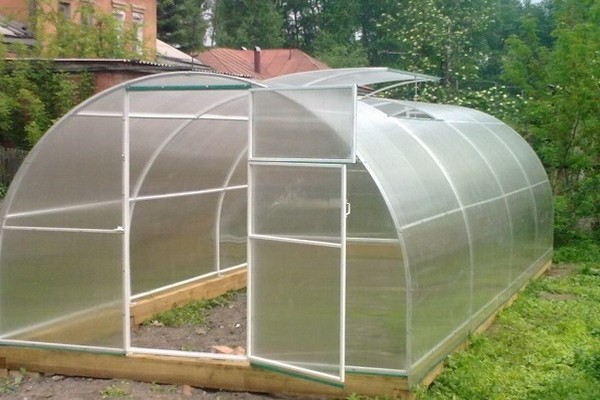
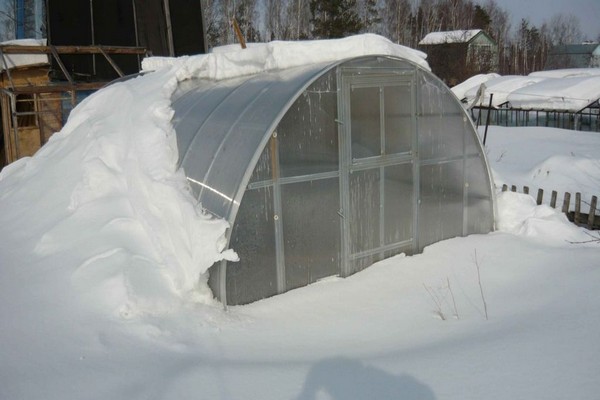
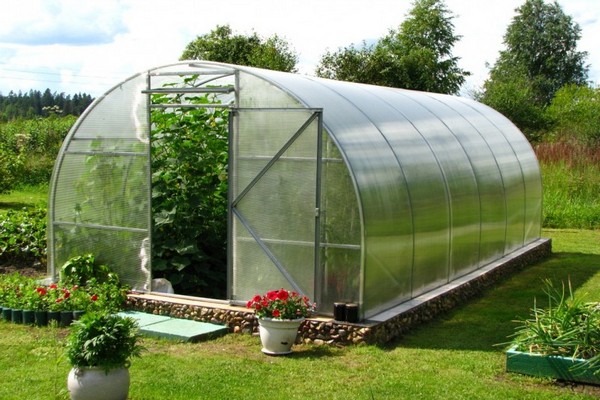
1. Arch greenhouse.
Ang uri na ito ay may isang bubong na ginawang katulad ng isang arc na hugis. Dahil sa ganitong uri ng bubong, mas maraming sikat ng araw hangga't maaari ay pumasok sa greenhouse na ito. Ang ilaw ay kumakalat sa buong greenhouse at binabad ang bawat halaman.
Ang uri ng greenhouse na ito ay mabuti sapagkat sa taglamig ng isang malaking halaga ng niyebe ay hindi maipon sa bubong, dahil hindi ito makatiis at dumulas.
2. Single-pitched greenhouse.
Ang ganitong uri ng greenhouse ay nakakabit sa dingding ng isang kalapit na gusali o istraktura. Ang lahat ay nakasalalay sa kung aling bahay ka nakatira.
Ang isang lean-to greenhouse ay ang pinaka-abot-kayang greenhouse na maitatayo mo. Ang pinakamahusay na pagpipilian ay kung ang extension o gusali na sumusuporta sa greenhouse ay maiinit. Papayagan ka nitong huwag mag-alala tungkol sa pag-init ng greenhouse, dahil ang katawan ay lilipat mula sa gusali. Ang sandalan sa greenhouse ay may kaunting sagabal. Nakahiga ito sa katotohanang sa panahon ng matinding niyebe, maiipon ito sa mga bubong, kaya't kailangang linisin ng hardinero ang bubong nito nang mag-isa.
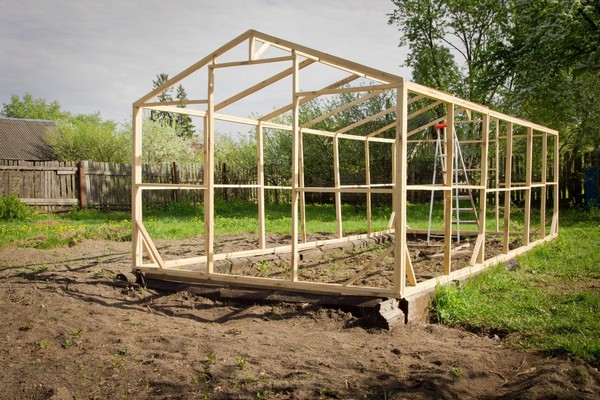
3. Dalawang panig na greenhouse
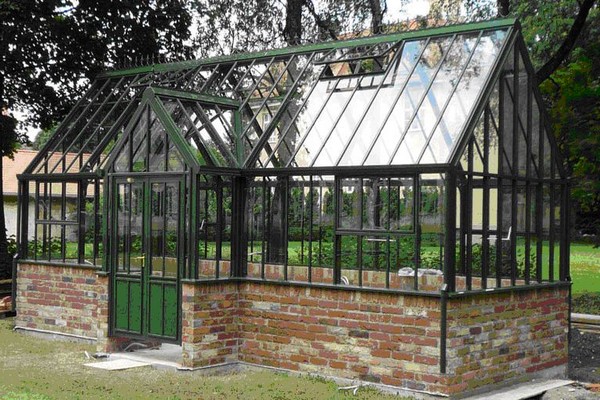
Ang uri na ito ay itinuturing na pinaka-tanyag, ang greenhouse ay nakikilala sa pamamagitan ng hugis ng bubong - ito ay kahawig ng isang tatsulok.
Ang positibong bahagi ng greenhouse na ito ay napakalaki nito at maraming puwang dito, kaya't ang mga pananim ay bubuo sa kalawakan. Napakadali din na pangalagaan ang mga pananim sa isang gable greenhouse, dahil din sa kaluwagan.
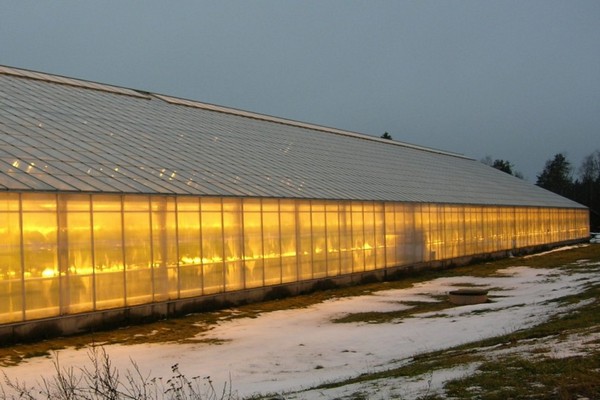
Mga winter greenhouse.
Ang bawat greenhouse ay isang uri ng taglamig o tag-init.
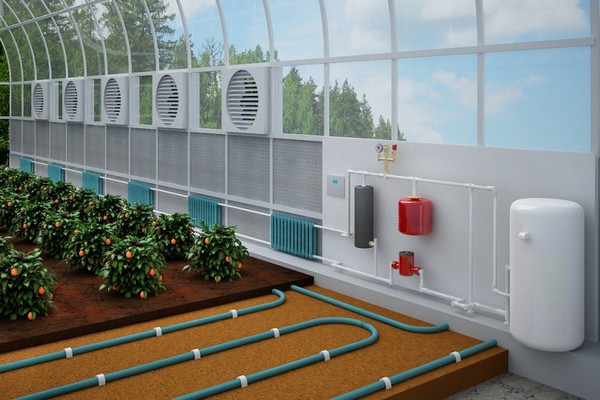
Ang greenhouse, na kabilang sa uri ng taglamig, ay naiiba sa nainit. Ang nasabing isang greenhouse ay dapat na matatagpuan mas malapit hangga't maaari sa isang extension o bahay na nainitan nang maayos. Ang nasabing isang greenhouse ay maaaring maiinit sa iba't ibang paraan, kabilang ang paggamit ng isang kalan. Tanging ito ay magiging napakahirap, dahil dapat itong madalas na maiinit at ang temperatura sa greenhouse ay dapat na mapanatili.
Kung magpasya kang isagawa ang konstruksyon sa iyong sarili, pagkatapos ay kailangan mo munang bumuo ng isang napakalakas na layer ng pundasyon kung saan matatagpuan ang greenhouse. Gayundin, ang pundasyon ay dapat na napalakas, dahil ang isang greenhouse ay isang mahirap na istraktura na pipindutin sa lupa na may isang medyo malaking timbang.
Ano ang binubuo ng pagtatayo ng isang winter greenhouse?
1. Ang greenhouse na ito ay dapat palalimin ng 180-220 sentimetrong malalim.
2. Una, kailangan mong maglaan ng oras sa hukay, iyon ay, paghukayin ito ng naaangkop na laki.
3. Pagkatapos ay itayo at palakasin ang pundasyon.
4. Pagkatapos nito, gamit ang mga bloke ng pag-init, kinakailangan upang ilagay ang mga dingding ng greenhouse.
5. Insulate ang greenhouse gamit ang mga espesyal na materyales.
6. At ang huling yugto ay magiging pag-init.
Napakahirap gawin ang lahat ng ito sa iyong sarili, samakatuwid, kadalasang ang ganitong uri ng greenhouse ay itinatayo ng mga manggagawa.
Mga greenhouse sa tag-init.
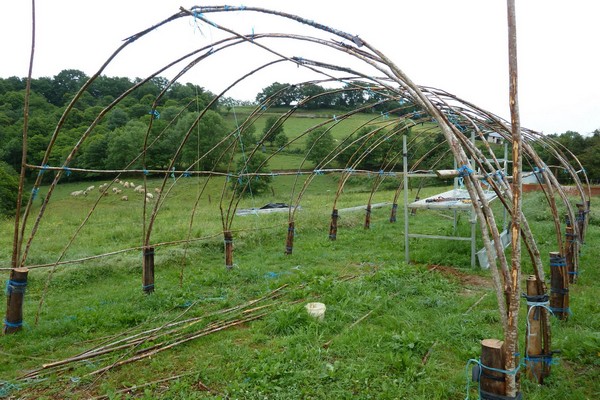
Ang ganitong uri ng greenhouse ay mas madaling buuin, mayroon itong hitsura ng taglamig.Ang tag-init na greenhouse ay binubuo ng isang frame na sakop ng mga polyethylene films. Ito ay isang napaka-simpleng greenhouse na hindi talaga mahal na maitayo. Ang nasabing isang greenhouse ay maaaring magamit sa loob ng 2-3 taon, lamang sa mga maayos na hardinero na hahawakan ito nang maayos.
Para sa ganitong uri ng greenhouse, kailangan mo ng isang frame na gawa sa kahoy, na maaari mong buuin ang iyong sarili. Sa pagsisimula ng tagsibol, ang istrakturang ito ay nakabalot sa siksik na polyethylene film, at naayos din ito gamit ang mga turnilyo sa frame upang mahigpit ang paghawak nito at maaaring magsilbing isang hardinero hangga't maaari.
Mga tagubilin para sa pagbuo ng isang summer greenhouse.
Ang pagtatayo ng isang tag-init na greenhouse ng uri ay napaka-simple, kahit na ang isang hardinero na walang karanasan sa konstruksyon ay maaaring hawakan ito. Upang magawa ito, kailangan mong sundin ang ilang mga patakaran.
1. Una, kailangan mong maghanap ng isang lugar para sa greenhouse. Dapat itong patag sa ibabaw.
2. Kung gayon kailangan mong iguhit ang greenhouse na nais mong magkaroon. At kalkulahin ang mga materyales na maaaring kailanganin mo.
Kadalasan ang listahan ng mga materyales ay maliit. Binubuo ito ng isang siksik na pelikula ng polyethylene, mga tubo, mga kabit na metal. Kakailanganin mo rin ang mga kuko, ilang mga bisagra sa pintuan, isang kandado at mga bar.
3. Matapos mapili ang lugar at ang lahat ng kinakailangang mga materyales ay nabili, kinakailangan upang simulan ang paghahanda ng lugar para sa pagtatayo. Ang lupa sa lugar na ito ay siksik sa lahat ng mga paraan upang ang greenhouse ay hindi umupo sa maluwag na lupa.
4. Ang lahat ng biniling board at bar ay dapat tratuhin ng isang antiseptiko.
5. Kinakailangan na bumuo ng isang pundasyon mula sa mga board na kinakailangan perimeter. At pagkatapos ay ayusin ang pampalakas.
6. Kasama ang perimeter ng buong pundasyon, ang ilang mga pamalo ay dapat na maayos, dapat ay magkaparehong distansya. Kung ang iyong greenhouse ay tungkol sa 3 metro ng 6 metro, pagkatapos ay 40 baras ay magiging sapat. Sa isang malaking greenhouse, tataas ang bilang ng mga sanga. Ang mga tungkod na ito ay dapat na maghukay sa lupa na may 0.5 metro ang lalim at mahigpit na sinusuportahan, dahil magkakaroon sila ng napakalaking bigat. Sa karaniwan, ang mga tungkod ay dapat na may katamtamang haba, mga 70 sentimetro.
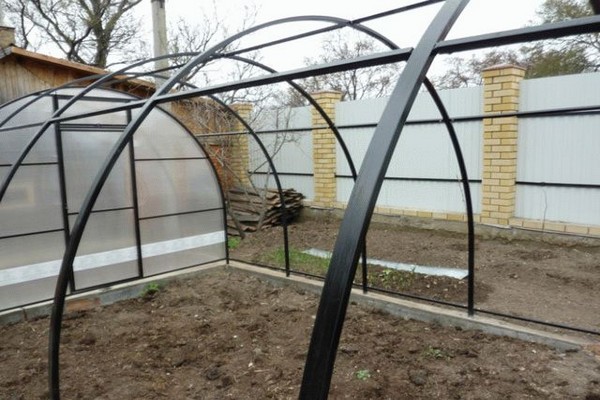
7. Pagkatapos ang mga tubo ay pumapasok sa kurso, na inilalagay sa tungkod at konektado.
8. Ang tubo at ang metal loop ay konektado sa mga tornilyo, at ginagawa ito kasama ang buong perimeter.
9. Ang buong itinayo na istraktura ay pinatibay ng isang bar, sa average na 5 hanggang 5 sentimetro.
10. Upang ang istraktura ay tumayo nang matatag at hindi gumagalaw saan man, kinakailangan upang palakasin ang mga sulok ng istraktura gamit ang mga bar.
11. Kung gayon kinakailangan upang isagawa ang pangkabit ng ilang mga tubo. Dapat itong gawin upang ang lahat ng mga konektadong tubo ay ang haba ng greenhouse. Matapos ikonekta ang mga tubo, dapat na maayos ang mga ito sa frame.
12. Pagkatapos ay kailangan mong takpan ang frame gamit ang plastik na balot. Ang foil ay dapat na maayos sa mga turnilyo o mga kuko.
13. Pagkatapos ang pelikula ay nakabalot sa lahat ng bahagi ng frame.
14. Pagkatapos nito, kailangan mong magpasya sa pintuan, kailangan mong pumili ng isang site para sa mga pintuan at itumba ang isang bar sa laki nito. Nakalakip din ang pelikula sa pintuan, ang labis na mga bahagi lamang ng pelikula ang napuputol.
15. Ang pangwakas na hakbang ay upang ikabit ang pintuan sa frame na may mga metal na bisagra.
Konklusyon.
Hindi ito magiging mahirap na bumuo ng isang maliit na greenhouse na uri ng tag-init, para lamang dito kailangan mong mag-isip ng isang plano ng pagkilos at bumili ng lahat ng kinakailangang mga materyales para sa pagtatayo.
Kung nais mong maging may-ari ng isang greenhouse ng taglamig, pagkatapos ay kukuha ka ng mga manggagawa, dahil halos imposibleng magtayo ng naturang greenhouse sa iyong sarili.